


 step 1: buy kabob skewers. there were two kinds and we bought the longer kind. if i were to do it again, i would probably get the shorter ones instead because i ended up cutting a lot off.
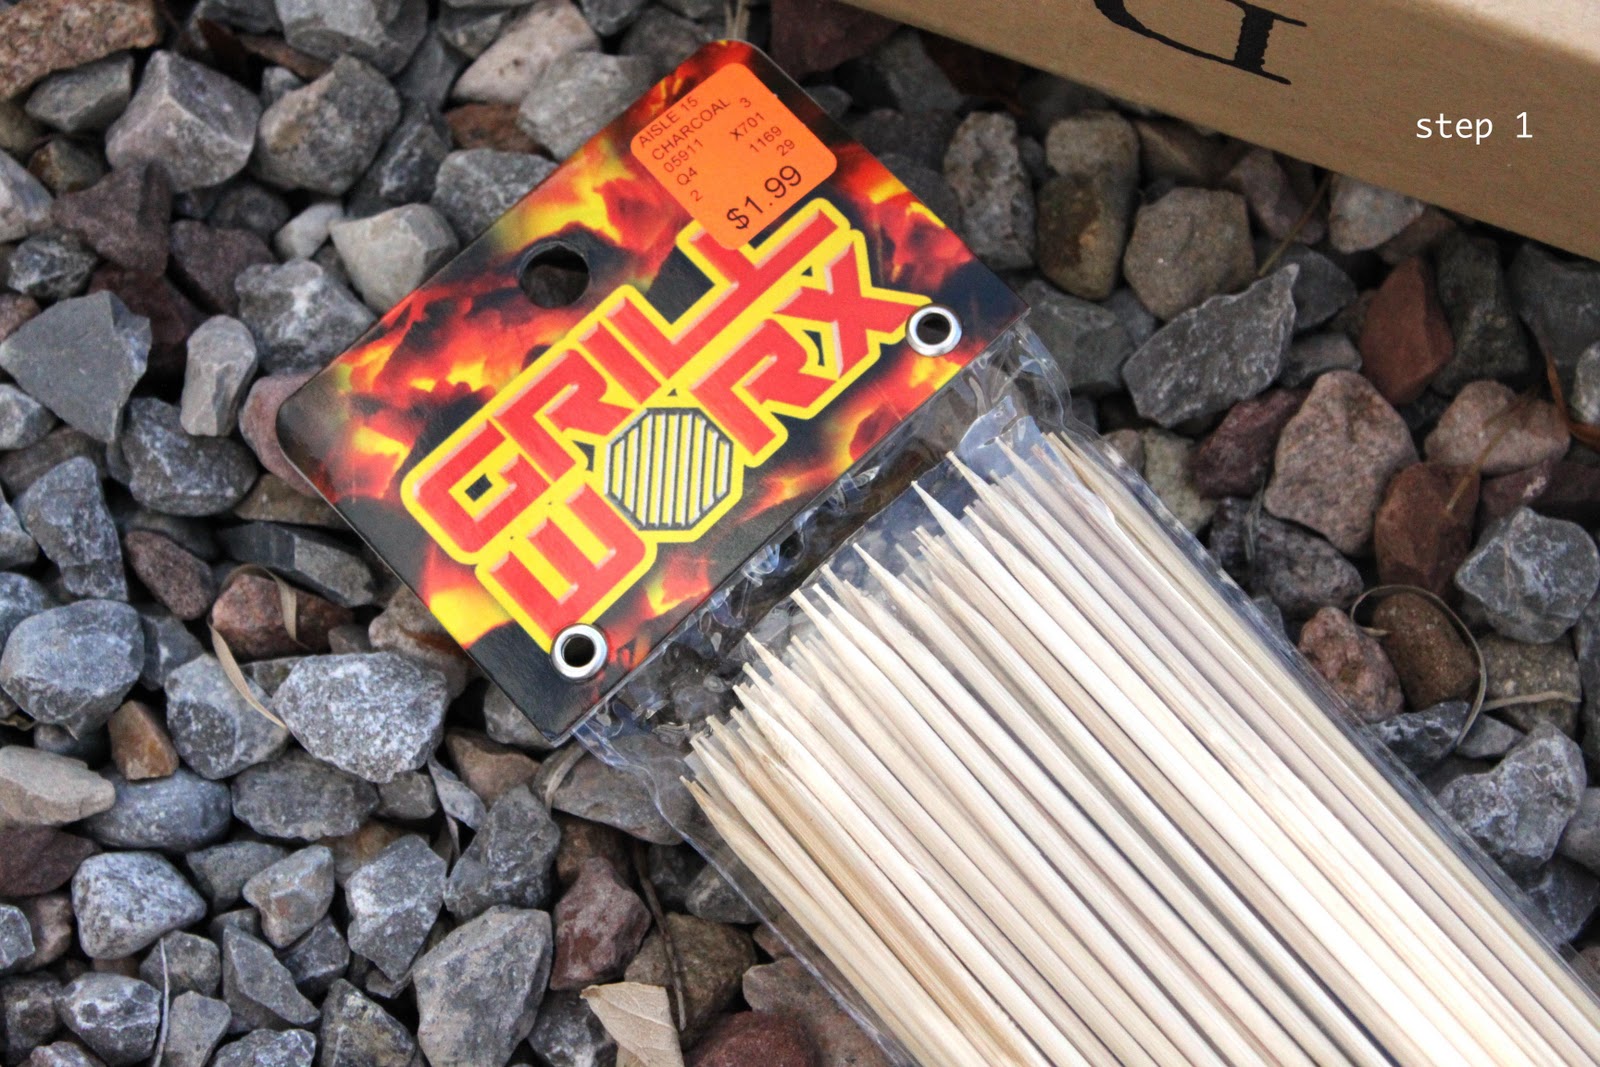
step 2: buy some spray paint. i've seen different colors for different mirrors, since the rims were gold on mine... i just stuck with gold. i saw a tutorial once where they used a dark teal to match their mirror and it turned out gorgeous. anyway in my opinion, the glossier the better. i think shiny is prettiest.
step 3: prep sticks for painting. we used a cardboard box and it worked great.


step 4: not really a step, more of a tip. the closer you put the sticks, the better. originally i thought i was just gonna line them all up in a straight line but grant pointed out that would waste more spray paint. with the sticks this close it eliminated needless spray. i even had sticks leaning against each other but with a couple coats it turned out just fine.

step 5: spray! wait for them to dry and spray again. make sure to always get every angle. most spray paint dries pretty quickly so we did 3-4 quick coats just to be safe.

step 6: i didn't really get pictures of the next steps... basically i figured out what design i wanted first. there are popular styles that are actually just all one length or there are styles more like mine where you have a few different lengths. grant suggested that i measure 16 this size... 32 that size.. blah blah but i'm not patient enough for that. so basically i just winged it. and the results speak for themselves. ha.
step 7: attach sticks to back of mirror using hot glue. if you want, it might help to google a few tutorials just so that you can see different options. this part was the longest so i watched studio 5 clips during it all to keep me entertained. since you are just using skewers and hot glue... it is a pretty fragile process. i had to be SUPER careful hanging them on the wall.
step 7: attach sticks to back of mirror using hot glue. if you want, it might help to google a few tutorials just so that you can see different options. this part was the longest so i watched studio 5 clips during it all to keep me entertained. since you are just using skewers and hot glue... it is a pretty fragile process. i had to be SUPER careful hanging them on the wall.


ta da! total cost was under $40. and that includes the 2 mirrors and project supplies.


23 sweet thoughts:
WOW I LOVE it! I think I might need to try that. How on earth did you find the two mirrors? Do you go thrifting a lot? I know it's really hit or miss and the people that go often find the stuff. I am too sporadic :) I LOVE what I can see of your house. I think that we need pictures of the ENTIRE thing, inch by inch. Except maybe that is a bad idea because I am pretty sure I wouild want to copy it all. :) And, I am so sorry about not getting to see you a few weeks ago! I went with a friend and we were kind of on her agenda and were only there for 1 day. I would have really loved to get together...so hopefully we can make that happen soon!
oh my oh my! me and my sil were just talking about these very sunburst tutorials! i have a mirror above my toilet that needs a face lift and this is just what it needs. i think i'm going to do a colorful one and paint the mirror too. i love what you've done so far in your living room. more posts just like this one....please! i'd love it!!
LOVE!!
Please post any and all diy projects you do. Theyre always great.
And please give us a home tour. That room is gorgeous!
Ps. Grant seems so much like Boyd when it comes to these kinds of things...and I, I'm much more like you. Let me do it the easiest/quickest way possible.
They love beautiful. You and Grant or so creative. We need to come and visit and take a look for ourselves.
this is awesome! what a great idea, and it turned out lovely.
ditto to the home tour request :)
I love sunburst mirrors, and I more than love the turn out! I can't wait to see the rest.
hey really quick i thought i'd share one of my fav design blogs. you may already follow it but here is the link. it reminds me of your style.
http://flourishdesignandstyle.blogspot.com/
so awesome!!!! im way impressed, it looks so nice!!! & your living room is to die for!!!
I love the texture that it adds to the wall!
I love it! I also love the globe, suitcases, pretty much everything else in the room. The window treatment (pellet? or something) is peeking through in one photo too and it looks great.
um, wow! I love this room! I can not believe that you put that mirror together. you have got some serious talent!
So I have been looking for the perfect pelmet box window coverings and I LOVE LOVE LOVE yours. Did you buy it or make it? I hope you bought it so I can too:) I am not crafty at all. I know you probably don't have a ton of time but if you don't mind dropping me a note telling me, that would be wonderful!! here is my email address : brittnythompson@gmail.com
Thanks!!
I think I totally found a site that has a tutorial for them! I'm sure you made them so I will just have to try my hardest!!
You are very clever, this turned out great.Hope you signed on as a new friend of mine as well:)
This turned out great! Thanks for linking Flaunt it Friday. :)
This is so clever! It looks great on that wall especially.
Thanks for the tip! :)
Visiting from Debbie's...
Lisa
http://chicmagnifique.blogspot.com
This is a beyond clever idea !! Genious !! It turned out beautifuully ... and looks gorgeous in your space. Well done !! *Becca*
www.adventuresindecorating1.blogspot.com
That is a cool mirror . . . but even better are the AWESOME suitcases and way cool little space you put it in! How beautiful!
Rachel @ Maybe Matilda
How creative! This turned out great. And I love those suitcases too!
Now I loved it to begin with but the addition of the "rays" -- perfection!
What a great project and very creative! Thanks for sharing your wonderful new mirror at my Open House party.
Hugs,
Sherry
Such a delightful blog! Soooo happy to have found you. I'm here from Debbie's Newbie party to welcome you and I'm your newest follower. Pop over for a visit sometime and have a blessed Easter.
xoxo,
Kim
Your room looks beautiful! Mirrors always add just the right touch.
Britt, where did you get this rug?
Post a Comment